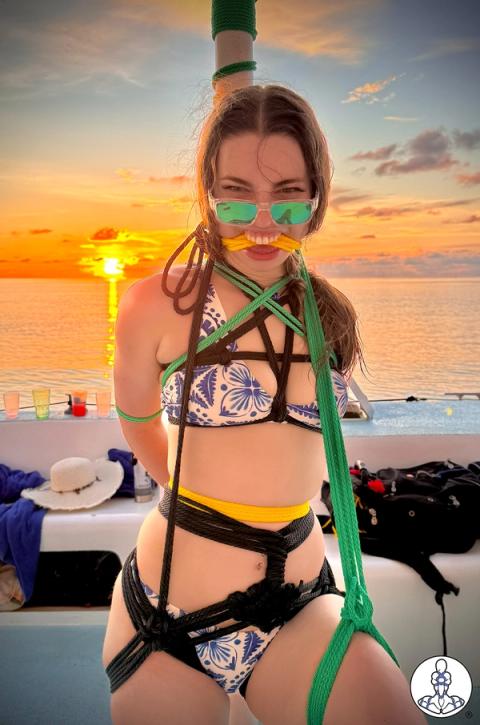
Into the Woods
By Lazarus Redmayne
Intermediate
One of our members recently asked for advice about outdoor rope scenes and photoshoots. This inspired us to create a CAS out of a photoshoot from awhile back. See the annotated picture below for how this scene was tied.
As a companion to this post, we also published CAS - Outdoor Scenes & Photography with a checklist of things to think about if you, too, want to play outdoors!
Scene Credits
Prerequisites


Scene
- First create an anchor point on the tree. If you have a convenient heavy branch, you can use that for greater support, but with trees that have heavy bark, you can also just wrap a rope around them several times and it will grip very well. More about this in the Hashira Anchor
- Add a Load-baring Double Column or Fast Load-bearing Double Column to the wrists.
- Run the tail up to the anchor (1) and secure it any way you like.
- Add a Single Column. I used a Slipped Somerville Bowline.
- Run the tail up to the anchor (1), then reverse tension and set how high you want the cuff (4) to be.
- Run the tail back down and through the cuff – if you are using a Slipped Somerville Bowline or other quick-release technique, be sure not to block your quick release – then lock off.
- In this case I wrapped the remaining tail around the up line then tucked the ends between the strands to lock them in place. You can use any other hard-point friction you may prefer.