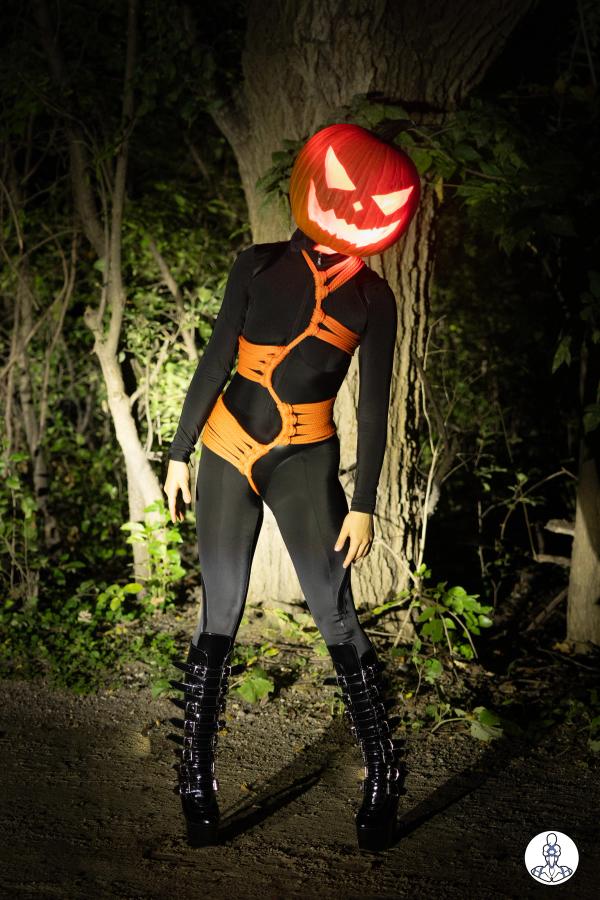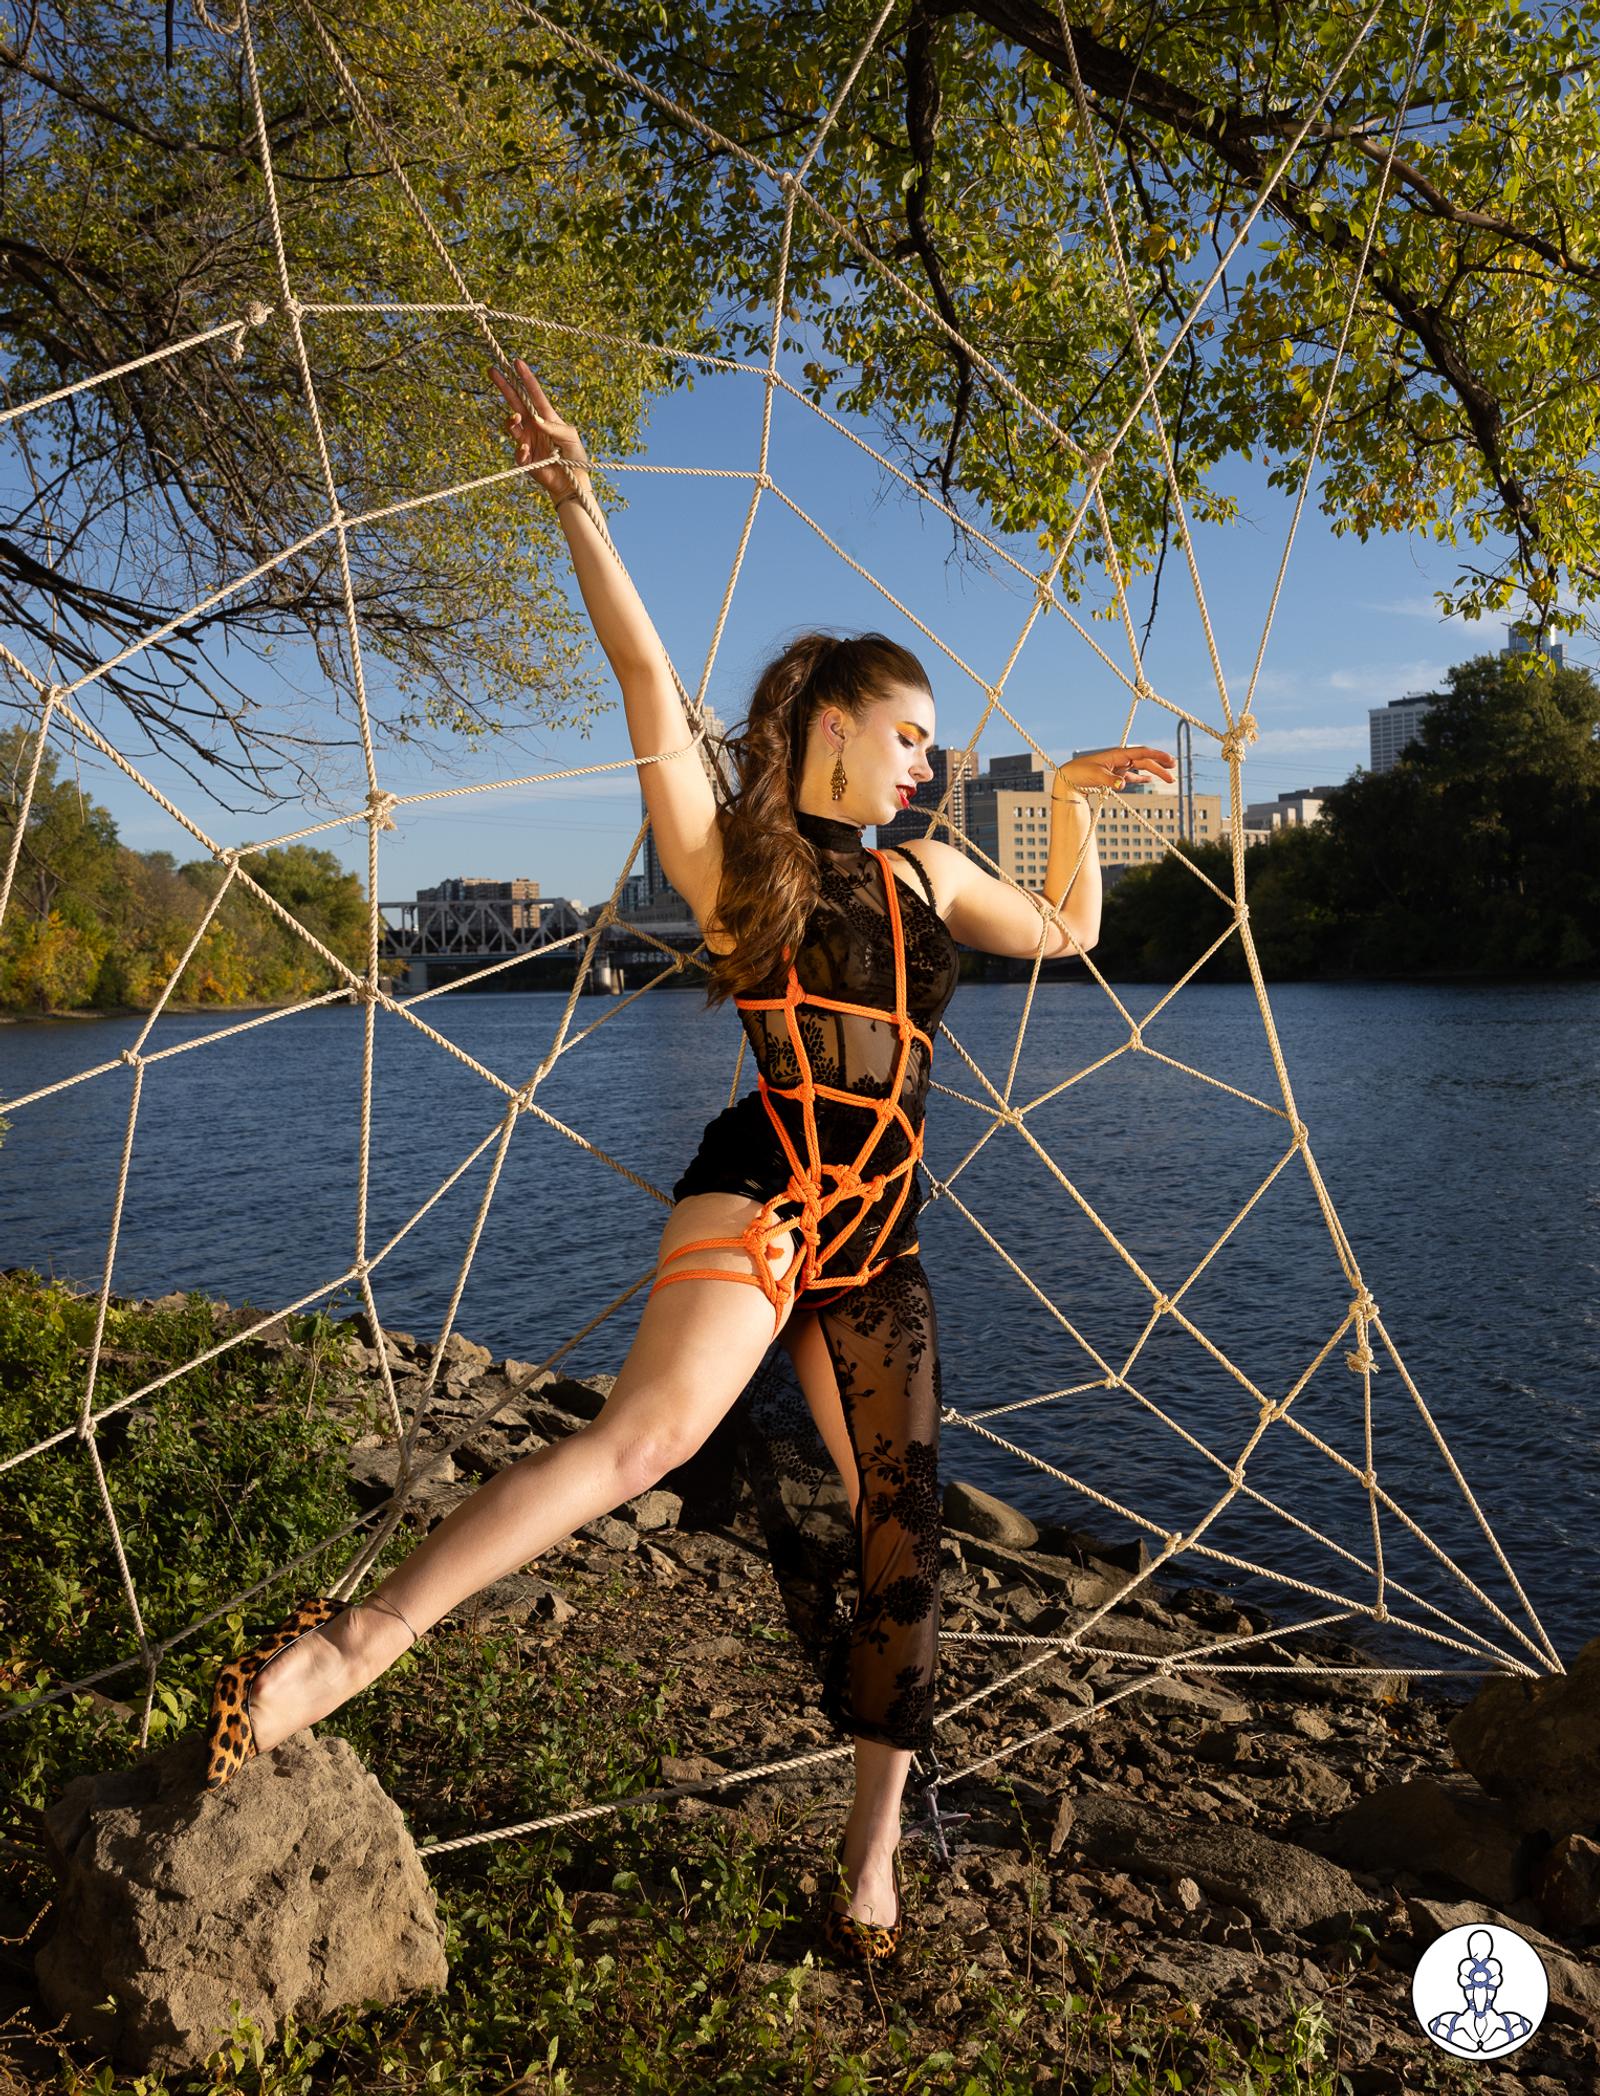
The “Web by the Water” Series — a collaboration with @KnotsVeryFirm, featuring @KajiraBlue — was created using chaos rope and concepts you can learn from our spiderweb tutorials. Both the orange web overlaying the dress and web itself uses those same concepts. The radial elements of the web were created using concept discussed in evaluating a suspension hard point, creating suspension up lines, and anchors.
Adding Blue
When Blue arrived on set, she first posed with just the web, then we added a web to her as well!
We shot hundreds of pictures that day! This is just a small sample!
Anchor points
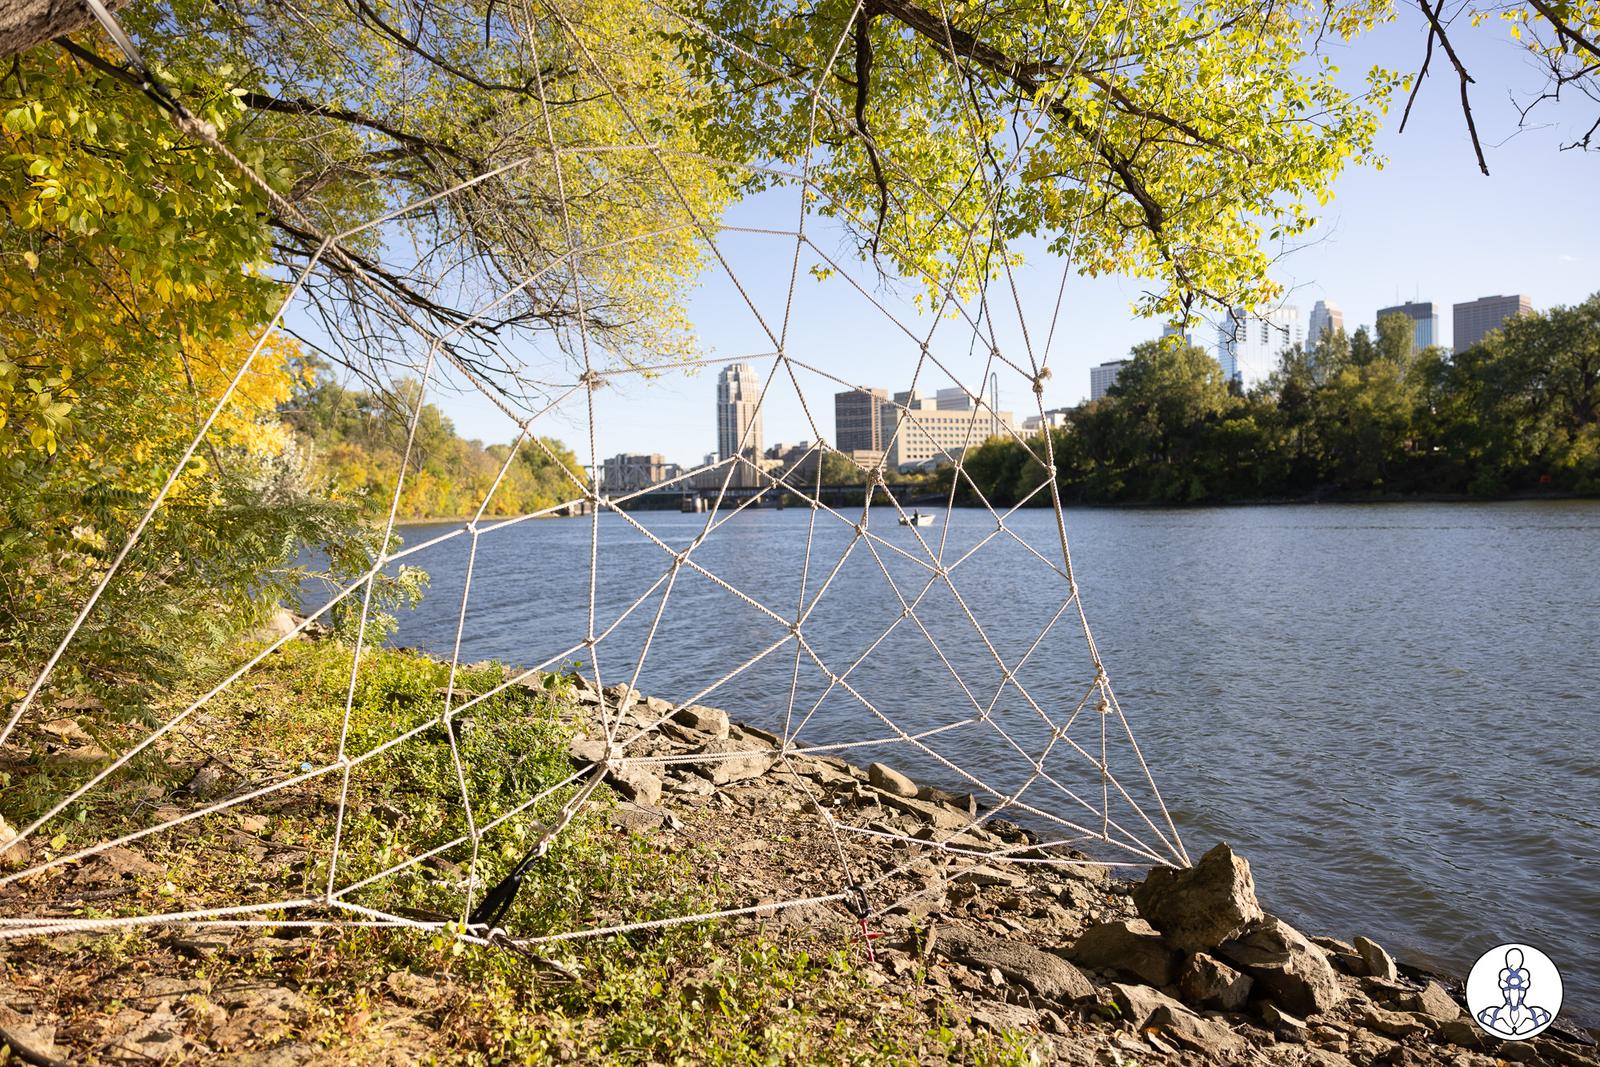
We wanted to time this so we would be shooting at golden hour. We had to find a place that would be in sun during that time. We found a tree with exposed roots and overhanging branches just in time to get things set up before showtime. We didn’t grab a shot of the full location, but you can see part of the tree branch!
- We used the overhanging branch to support the top of the web.
- A huge, exposed root made great anchor for the lower left corner.
- There was a large steel cable rooted firmly into the ground that made another great lower anchor.
- Unfortunately, from there we were out of luck. We had to use an anchor stake for points 4…
- …and 5. They were 2’ (~61cm) long, so the provided some support, but not enough for me to fully trust. We added support to the lower right corner with a number of heavy rocks, but this was still not enough for me to trust. I decided at that point that Blue would always have at least one foot firmly on the ground throughout this shoot.
The web itself
6. From there we began framing out the web. We used 3/8” rope for the sides…
7. …and for the radial lines of the web (those going from the center outward).We purposefully kept this a little chaotic as a homage to all those real spider webs on the bridge you can see in the background. 😉
8. To connect those radial lines to the tree, we used climbing straps (so the rope wouldn’t get torn up by the tree bark) and carabiners.
9. We then added the rope using Anchor Hitches. We ran the lines from one anchor point to another to another, added more rope and continued until we had several radial lines.
10. Then we added the lines that would be the sticky parts of a real web. We used ¼” (6mm) for that. We used the ideas discussed in the Spider Web tutorial. We ran the lines wherever they needed to go to make things tight and web-like!