
Hiatus Coil
By Lazarus Redmayne
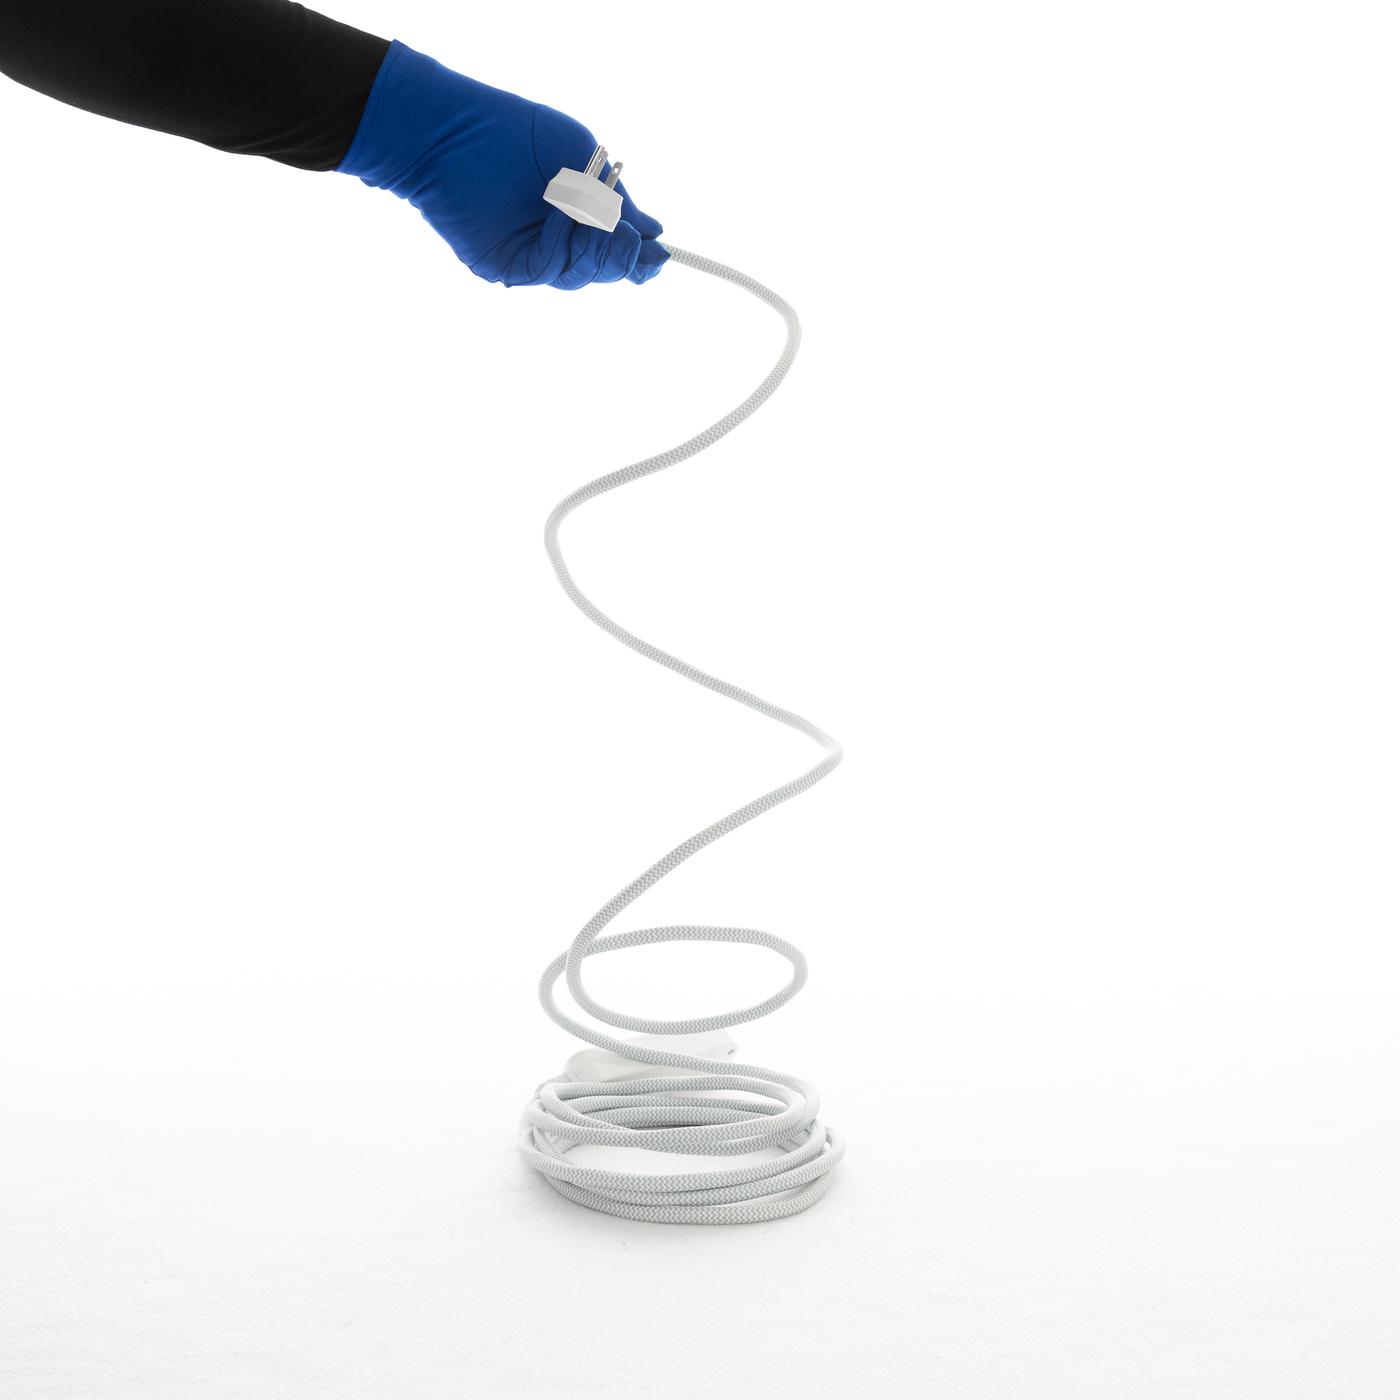
The Hiatus Coil or Storage Coil is one smart way to coil something so it won’t tangle or become kinked—even if you won’t be using it for months or years. And when you are ready to use it again, just grab one end and it will gracefully uncoil without becoming a tangled mess!
You may find yourself using this technique all the time—to wrap hoses, extension cords, Christmas lights, and more. It works just as well with flat cords. Roadies use it for cables. Gardeners use it for hoses. It is also commonly called the “over-under” coiling method, which makes sense if you picture coiling a hose on the ground.
I am calling it the “Hiatus Coil” when applying it to rope because it is most useful for rope you won’t be using for a long time. Maybe it is a particular type or color you rarely use—holiday-colored rope, for example—or perhaps you are taking a break from rope altogether. You could call it a Storage Coil, but I like the music of “Hiatus Coil” better. 😉
If you will be using the rope again soon and want to instantly find the bight and start tying, use a technique that holds the bight for you, like this Figure-8 Hank. Use the Hiatus Coil for rope that will be sitting for a while.
The Hiatus Coil can be done with either hand and in either direction. Try a few practice runs each way and see what feels most natural. The process and the words I use to describe it are the same no matter which orientation you choose; it just looks a little different.
- Right-handed people: Read the Core Technique, then try Examples 1 and 2
- Left-handed people: Read the Core Technique, then try Examples 3 and 4
Video
Video Contents:
- Why this is useful (0:25)
- Core Technique (0:58)
- Demonstration 1 - Right-handed, Thumb side (3:48)
- Demonstration 2 - Right-handed, Pinky side (6:06)
- Demonstration 3 - Left-handed, Thumb side (7:40)
- Demonstration 4 - Left -handed, Pinky side (8:58)
Core Technique
This can be done with either hand, coiling in either direction. The process is the same regardless. It just looks a little different because the orientation is different. I will show those other versions below, but will show the core concept with the one that likely to be the most intuitive for the majority of people. Try doing a few practice runs each way to find the one that feels most natural to you.
We’ll show this with an electrical cord which is a little stiffer so it will be easier to see.
Using your non-dominant hand, hold the end of a single strand so that the tip is pointing toward your thumb and the tail is running downward.
Remember that the end is on your thumb side, that will be important is a moment.
We are going to cord by creating two different types of coils, first one—an outward-facing coil—paired with a second, inward-facing coil. To begin the outward-facing coil, place your fingers on the out side of the strand (the side farther from your body).
Slide your hand down a little. The distance you go will determine the size of your coils. It doesn’t really matter how far you go but be consistent with each coil. Grip the cord.
Bring the tail up in a coil…
…and lay it on top of the strands already in your hand. Notice how we never needed to flip our hand over.
Like this
This is an outward-facing coil. This means that this cord, the one leading out of the coil…
…is outside of…
…this part of the cord that is going into the coil.
Take a moment to check the size of the coil you are making.
Adjust it if desired.
Now let’s pair this with an inward-facing coil. To do this, place your fingers on the inside of the strand (the side closer to your body). Slide your hand down again, the same distance as for the first coil.
Remember Step 2 when I pointed out that the end of the cord was pointing toward the thumb side? To make an inward-facing coil flip your hand over (on that same side, the thumb side) before grabbing the strand.
This time, as you bring the line up to begin forming the coil…
… twist your dominant hand toward your non-dominant hand…
… allowing the tail of the strand to tuck inside the coil …
… like this.
Lay it with the other coils.
Adjust the size of the coil so it matches the others.
This is an inward-facing coil. This cord coming out of the coil …
… is inside …
… the part of the cord going in to the coil.
You now repeat that process: Create an outward facing coil …
…
…
… followed by inward facing coil…
…
…
…
…like this.
As you complete the paired coils, you will see these patterns emerge.
Now, just repeat that same pattern.
This is ready to store.
Why this works
Watch what happens when this uncoils:
Unlike our regular wrapping technique, this uncoil from one end.
As you do, you will see one coil unwrap one way, followed by the other unwrapping the other way. The first twists the cord a little, then the other untwists it.
As the cord uncoils further …
… it stretches …
… until it is straight!