
In-line Fast Load-bearing Double Column
By Lazarus Redmayne
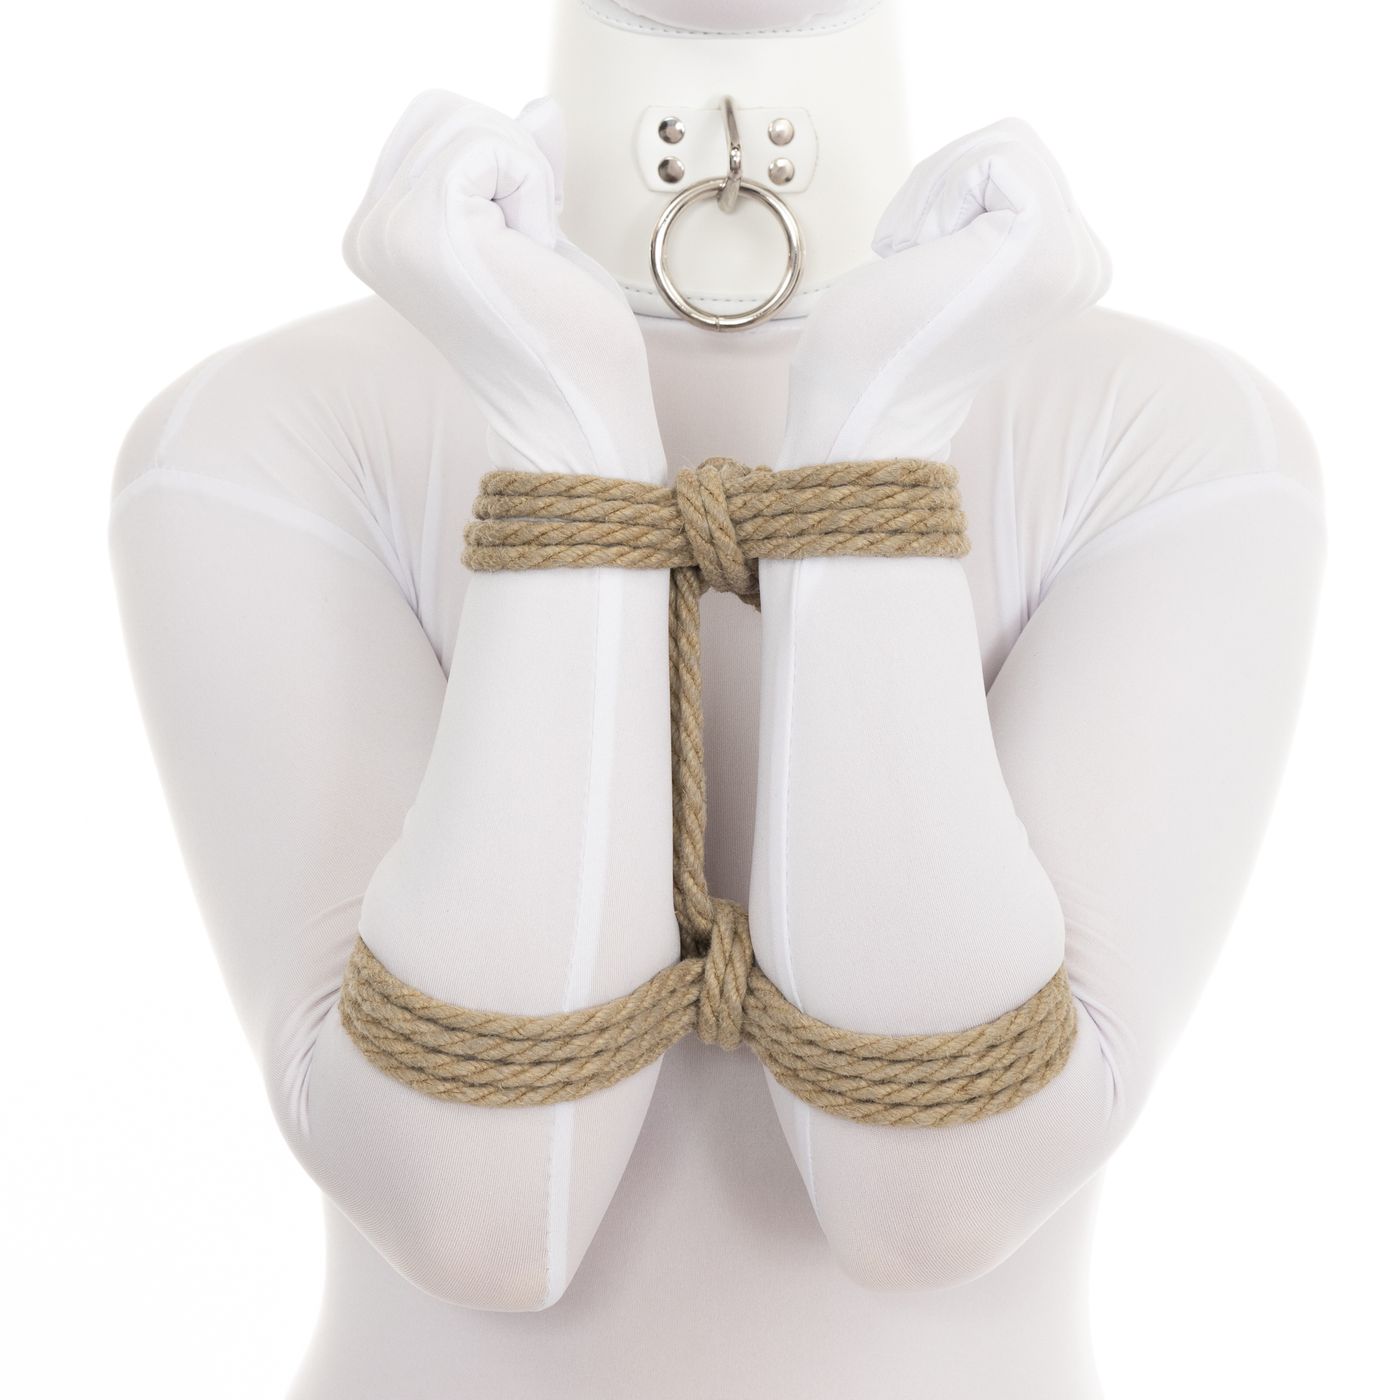
How to add a set of rope cuffs (a Double Column) to the middle of your rope. If you have rope left over at the end of your tie, here is one way to use it to tie your partner’s wrists, ankles, etc. … or maybe someone else’s!
This is the in-line version of the Fast Load-Bearing Double Column.
IMPORTANT: “Load-bearing” is not suspension in this context. It means you can put tension on the tail and the cuffs will not collapse down, constrict or crush your partner’s wrists. They can pull or thrash and it will hold them, but as soon as they stop pulling, the rope will go back to the level they were before.
Rope Needed
For this tutorial, I used one 15' (~5m) piece of Natural 1/4" (6mm) hemp.
I use an amazing Natural hemp rope provided by my affiliate Twisted Monk. Check them out!
Video
Video Contents:
- Initial set-up (0:08)
- Lock off version 1 – So you have a lead and can continue on (1:20)
- Lock off version 2 – End the tie here. (2:22)
Pictures & Text
Creating the band
You can use this technique in any situation where one end of your rope is already attached and now you want to add a Double Column. In this example, I started with a Fast Load-Bearing Double Column around my parter’s forearms -- but this could just as easily be a line that comes from a harness or a rope collar, etc. – and we will now use those same ideas to create an in-line version!
The way this tie works, we need to the lines of the cuffs to touch when we cinch them down, while making sure that they are not too tight. In order to do that, we need more space between the wrist than we normally have for a Double Column.
The key to controlling rope is tension, so it can be helpful to have your partner give you a little outward pressure when once you start wrapping rope.
Bring the line to where you want the cuffs to be.
Bend the rope to 90° and begin wrapping.
Bring the tail back around to, then underneath, the stem, the reverse tension.
The second wrap should be inside the first one (opposite from the side where you want the tail to naturally flow when you are done).
Run the tail though that last bight.
Double check that you have extra space in the cuffs…
…you should have enough space that you can pinch the lines of the cuffs together and still have space between the inside of the wrists and where the ropes touch each other.
The band is now complete. You just need to lock it off.
There are two primary ways to do so: If you have more rope want to continue on, use Lock off version 1. If you are almost out of rope and want to end things here, use Lock off version 2.
Lock off version 1 – So you have a lead and can continue on
Keep the strands of the tail together and wrap them around all the strands of the cuffs (those on both sides).
(You don’t normally need to do this) If you have so much space between the wrists that you will need more than one wrap for the cinch, you can run the first wrap on this side of the stem and the second on the other so you have better symmetry.
(Normally you just do this) Bring the tail out on the side of the stem where it is naturally flowing (the same side it came out of the bight).
Put your finger under the starting point of the cinch wrap…
…feed the tail to your fingers…
…and pull it through. If you have slippery rope you may be able to just pull the tail to tighten the cinch. If not, it can be helpful to tighten the cinch in stages, first pulling the underside of the cinch tighter...
…like this…
…then pull the tail to tighten.
Check that there is still space between the inside of the wrist and where the ropes touch…
…you should be able to get at least one finger between the skin and the cinch on each side, like this.
This is what makes it load-bearing…
…If you pull on the tail, it will not cinch down on the wrist cuffs further.
Now the tail can be attached to something.
Done! (… and a bit of an Artist’s Corner shot)
(…and AC shot with my hand facing the other way)
Lock off version 2 – End the tie here
Separate the strands of the tail.
Run one each direction.
Run one on one side of the strands of the cuff and one on the other…
…cross them over in the back…
…and bring them back to the front.
We are going to lock off with a Square Knot. Do it in stages. Do the first Overhand Knot.
Tighten it to the point that it brings all the strands of the wrist cuffs together.
Test that the bands are not too tight.
Add the second Overhand Knot to complete the Square Knot.
Use up the remaining rope in whatever way you like.
Done!