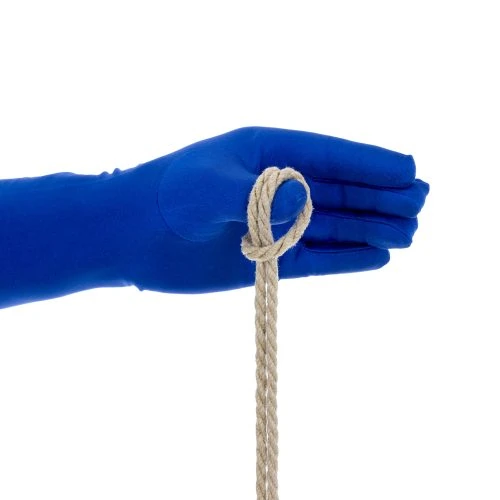
A Tête d'alouette est le nœud coulissant le plus simple. S'il est utilisé seul, il forme une boucle qui se resserre. Cela signifie que si vous tirez sur la queue, elle se resserre. Pour cette raison, un nœud coulant ne doit jamais être utilisé directement comme manchette de bondage. Cela dit, il s'agit d'une première étape très courante dans la création de nombreux autres liens.
Exemples :
- Tête d'alouette à une seule boucle
- Tete d'alouette a boucle double
- Colonne double de la Tête d'Alouette étendue
- Ceinture de déshabillage (et de nombreux autres harnais de hanche/taille)
- Shinju (et beaucoup d'autres harnais de poitrine)
- Harnais de coude léger
- Harnais de coude lourd
- beaucoup d'autres...
Comment faire le nœud de tête d'alouette ?
C'est la façon la plus courante de créer une tête d'alouette dans la pratique. Avec cette méthode, vous créez la tête d'alouette autour de quelque chose sans avoir à passer par-dessus l'extrémité comme avec les méthodes 2 et 3. C'est la première étape de la création d'une manchette ou d'une sangle de corde en utilisant la tête d'alouette à colonne unique.
ATTENTION : Ne pas utiliser une tête d'alouette seule comme manchette. C'est dangereux. La tête d'alouette est une boucle qui s'effondre. Elle doit être convertie en une boucle non effondrante pour pouvoir être utilisée dans le bondage. Ce que vous voyez ici, ce sont les premiers pas de la création de la Tête d'alouette à colonne simple, la forme que est se prêtent à la mise en servitude
Nouer une tête d'alouette est très simple, mais il y a quelques conseils et astuces à incorporer pour obtenir de bons résultats. compétences en matière de manipulation des cordes pour que le nouage soit également très facile. En maîtrisant des notions de base comme celle-ci, vous donnerez l'impression aux autres que vous manipulez la corde comme une extension naturelle de votre volonté. Cela renforcera leur impression de vos capacités et augmentera votre crédibilité en tant que gréeur. 😉
Pour voir cela en action, regardez la vidéo. Tu vois 1 chose ... je fais 11 choses !
Contenu de la vidéo :
00:08 - Attacher une tête d'alouette à toute vitesse
00:25 - Je faisais 11 choses ! Voici les détails
01:55 - Décomptons-les ... un peu plus vite
Dans la vidéo, voici ce que je fais à chaque numéro :
- Tenez la mèche de votre corde dans votre main dominante.
- Placez cette main d'un côté de l'objet que vous attachez et votre autre main de l'autre côté.
- Accrochez la morsure avec deux doigts de la main gauche, ces doigts étant dirigés vers l'objet que vous attachez.
- Tirez sur la corde en veillant à ce que les lignes soient parallèles et non torsadées.
- Vos doigts sont maintenant automatiquement positionnés. Introduisez la queue dans les doigts. Saisissez la queue à l'aide d'une pince à ciseaux.
- Tournez votre main de 90° pour positionner la queue de façon à ce qu'elle passe dans le grand trou de la piqûre et qu'elle ne traîne pas contre la piqûre elle-même.
- Tirez sur la queue en utilisant votre main secondaire tout en utilisant votre main dominante pour contrôler l'extrémité de la queue afin qu'elle ne s'agite pas et ne heurte pas quelque chose ou quelqu'un.
- Continuez à contrôler et à guider la queue jusqu'à ce que les extrémités soient passées dans le trou.
- Tension inverse.
- Régler la tension.
- Ajuster l'emplacement du nœud. (Ces trois dernières opérations peuvent être effectuées simultanément ou dans n'importe quel ordre).
Dans certains cas, il est utile de créer d'abord la tête d'alouette, puis de la placer à la fin d'un texte. C'est une façon de Prolonger la corde.
Si nécessaire, vous pouvez ensuite tirer sur la boucle pour l'agrandir afin de pouvoir la glisser sur l'extrémité de ce que vous êtes en train de nouer.
Cette technique donne les mêmes résultats que la méthode 2, mais peut être réalisée d'une seule main ! Cette méthode peut être utile lorsque Prolonger une cordevous pouvez maintenir la tension sur l'extrémité de la première corde et utiliser cette technique pour créer une tête d'alouette sur l'autre corde avant de les relier.

